Mastering Golden Hour Photography
Golden hour—the magical time shortly after sunrise or before sunset—is every photographer's favorite time of day. The soft, diffused light creates a warm glow that can transform ordinary scenes into extraordinary photographs. But mastering golden hour photography requires more than just showing up when the sun is low in the sky.
Golden Hour Definition:
The period shortly after sunrise or before sunset when daylight is redder and softer than when the sun is higher in the sky. Typically lasts about 1 hour, though duration varies by location and season.
Understanding Golden Hour Light
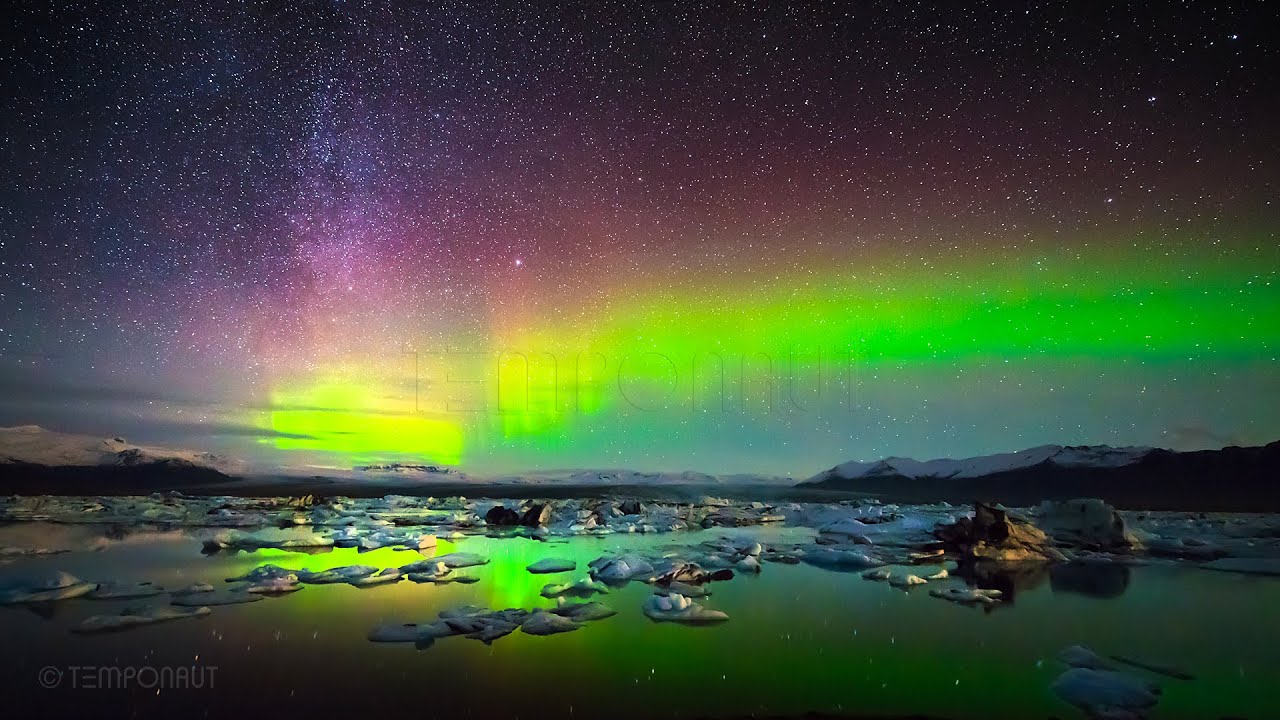
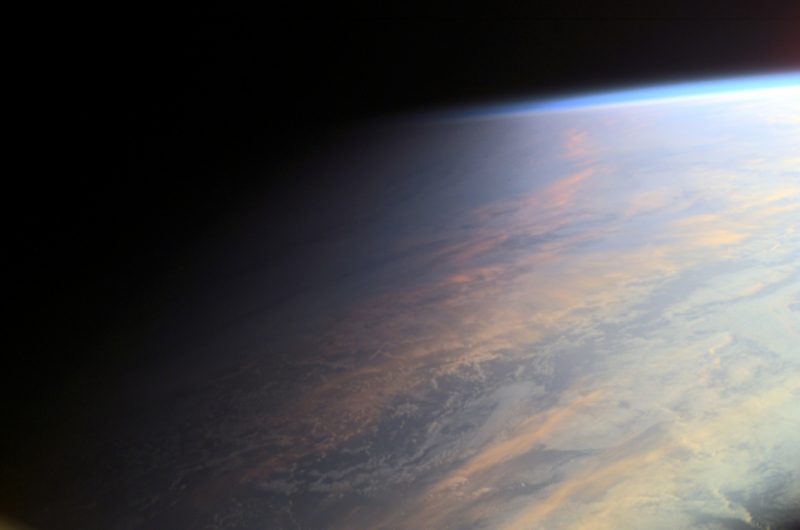
During golden hour, sunlight travels through more of Earth's atmosphere, scattering the blue light and allowing the warm red and yellow wavelengths to dominate. This creates that signature golden glow. The light is also more directional, creating beautiful shadows and highlights that add depth and dimension to your images.
Morning Golden Hour
Begins at sunrise and lasts about 1 hour. The air is often clearer with less atmospheric haze. Morning dew can add interesting elements to your shots. Wildlife is typically more active.
Evening Golden Hour
Begins about 1 hour before sunset. The light tends to be warmer than morning golden hour. Atmospheric haze can create more dramatic colors. Great for urban photography as city lights start to appear.
Essential Golden Hour Photography Techniques
1. Backlighting for Dramatic Effects
Position your subject between the sun and your camera to create beautiful rim lighting. This technique works exceptionally well for portraits, creating a glowing outline around your subject. For landscapes, backlighting can create stunning silhouettes or highlight textures in foliage and other elements.
2. Using Reflectors to Fill Shadows
While golden hour light is soft, it can still create strong shadows. Use reflectors to bounce light back onto your subject and fill in shadows. White reflectors provide subtle fill, while gold reflectors enhance the warm tones of golden hour.
3. White Balance Settings
While auto white balance can work, setting your camera to "Cloudy" or "Shade" preset (around 7000K) will enhance the warm tones. For more control, shoot in RAW format so you can adjust white balance in post-processing.
Golden Hour Photography Gear
- Tripod: Essential as light levels decrease, especially for landscape photography
- Lens hood: Helps prevent lens flare when shooting toward the sun
- Graduated neutral density filters: Balance exposure between bright skies and darker foregrounds
- Polarizing filter: Can enhance colors and reduce reflections, but use carefully as it may darken skies too much
Planning Your Golden Hour Shoot
Success in golden hour photography begins with preparation. Use apps like MelAuroral to determine exact golden hour times for your location. Scout locations during daytime to identify interesting compositions. Arrive early—the light changes rapidly, and you'll want to be set up before the magic begins.
Pro Tip:
The "golden" quality peaks during the last 15-20 minutes of golden hour. Plan your most important shots for this period when the light is at its warmest.
Post-Processing Golden Hour Images
While golden hour light is beautiful straight out of camera, some careful post-processing can enhance your images:
- Adjust white balance to taste—don't overdo the warmth
- Enhance shadows and highlights to maximize dynamic range
- Use selective adjustments to emphasize the golden light on your subject
- Consider adding slight vignetting to draw attention to your subject
Mastering golden hour photography takes practice, but the results are worth the effort. By understanding the light, using proper techniques, and planning your shoots carefully, you can create images with that magical golden glow that viewers will love.